How to Install Epson Printer?
- Mr. Ryan
- on Jun 21, 2023
Getting your new Epson printer up and running need not be daunting. This blog demonstrates the Epson Printer installation process and gets you printing in no time. Whether tech-savvy or a beginner, our step-by-step instructions provide a hassle-free experience. We’ve got you covered, from unboxing your printer to installing software, printer prerequisites, and establishing a connection. So without wasting time, set up your printer. Let’s first start with the unboxing procedure.
Contents
Procedure 1: Unboxing Epson Printer
Before delving into the Epson Printer installation, it is the first step of unboxing the Printer and checking all the pieces of equipment are present. So, follow the steps:
Step 1: Unbox the Printer
Remove the printer from its box. Ensure you lift it by grasping the printer’s body, not by its trays or other protruding parts, to avoid damage.
Step 2: Remove Packaging Material
Remove all tapes, protective films, and packing materials inside and outside the printer. Ensure you check all accessible parts like the paper tray, cartridge holder, and scanner glass.
Step 3: Check the Box Content
- Layout all items that came in the box on a flat surface.
- According to the printer model, you should find an Epson printer, a power cable, and a set of ink cartridges. The exact number of cartridges will depend on your model.
- Look for a start-up guide or installation CD. Depending on the model, some Epson printers may include a USB cable or phone cord for faxing capabilities.
- Make sure that all these elements are present. Contact your retailer or Epson’s customer service for assistance if anything is missing.
Step 4: Inspect the Equipment
- Begin by visually inspecting the printer itself. Check for any signs of damage that might have occurred during shipping.
- Look over the power cable and ensure it doesn’t appear frayed or damaged.
- Examine the ink cartridges. They should be sealed and undamaged. Also, confirm they’re the correct type for your printer model by comparing the model numbers on the cartridges to the ones listed in your documentation.
- If you find any damaged parts, don’t use them. Contact Epson’s customer service for replacements.
Step 5: Check the Given Documentation
- Locate the start-up guide that came with your printer. This will typically include illustrated instructions to help guide you through the process.
- Read through all the instructions before beginning the installation process. This will give you a clear idea of the steps you need to take and help you identify any potential issues before they occur.
- Don’t worry if an installation CD is given, but your computer doesn’t have a CD drive, don’t worry. You can typically find the necessary software on the Epson website. Look for your printer model and download the required drivers and software.
- Ensure you understand all the warnings and precautions provided in the documentation to avoid any harm or misuse of the printer during the setup.
After unboxing and checking all the equipment, complete the system requirements.
Procedure 2: Check System Prerequisites for Epson Printer Installation
To ensure a successful Epson Printer installation and optimal performance of your Epson printer, your system should meet the following prerequisites:
Operating System Compatibility
Epson printers are compatible with various operating systems, but checking your printer’s specific model for precise requirements is essential. Generally, Epson printers work with the following:
- Windows systems: Windows 7, 8, 8.1, 10, and newer versions.
- Mac systems: macOS 10.7.x (Lion) or newer.
Hardware Requirements
- Processor: A 1 GHz or faster processor for both Windows and Mac systems.
- RAM: At least 2 GB (32 Bit) or 4 GB (64 Bit) for Windows. For Mac, at least 2 GB.
- Hard Disk Space: You’ll need at least 1 GB of storage space for the printer software and drivers.
Connectivity
- USB: If you plan to use a direct connection, ensure your computer has a free USB port and a USB cable unless one was included with the printer.
- Network: For networked printing, you’ll need a stable Wi-Fi network or an Ethernet connection (depending on the printer’s capabilities).
Software Requirements
Ensure your system has the latest updates installed for the operating system, as this can affect compatibility with the printer drivers.
After completing all the necessary system requirements, let’s install Epson Printer.
Procedure 3: Steps for Epson Printer Installation
Now, we are to the main part of the Epson printer installation you are looking for. There are two methods for installation, one is with the help of an installation CD, and another is with downloading the software from the official website. We are going to provide you with both steps. These are:
How to Install Epson Printer With Installation CD
Installing your printer with the provided Epson printer Installation CD is straightforward. The following are the steps:
Note: This process may vary slightly depending on the specific Epson printer model and your computer’s operating system, so always refer to the manual or on-screen instructions if in doubt.
- Insert the Printer Installation CD you get, into your computer’s CD drive.
- If the setup doesn’t start automatically, navigate to your CD drive in your computer’s file system and double-click the setup file to begin.
- Select your language on the setup screen, then click “Next”.
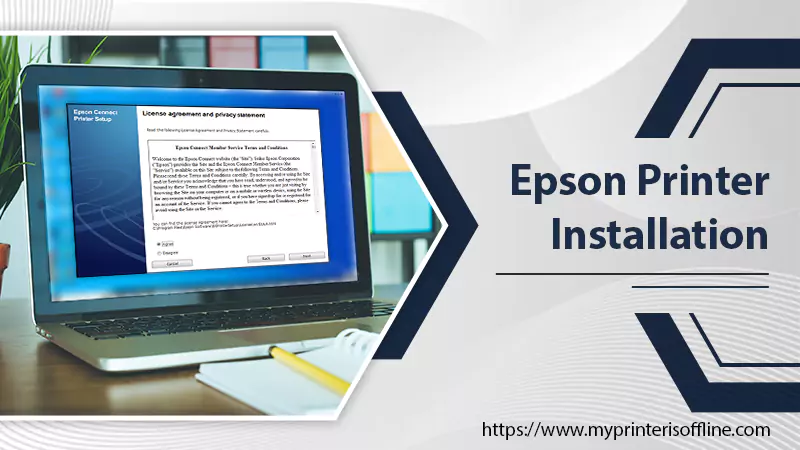
- Follow the on-screen prompts to guide you through the terms and conditions. Read these carefully, then click “Agree” if you’re happy to proceed.
- The installer will now prompt you to select the type of connection. Choose between the choice “Direct USB Connection” or “Wireless Connection”, and then click “Next”.
- If you selected “Direct USB Connection,” connect your printer to your computer using a USB cable when prompted. If you select “Wireless Connection,” you will be guided to connect your printer to your Wi-Fi network. Follow the on-screen prompts to finish this procedure.
- At this stage, the installer will guide you through installing the necessary drivers. Click “Install” to start the installation.
- Once the drivers have been installed, the software usually requires you to print a test page. Load paper in the printer tray and click “Print Test Page.”
- If the test page prints successfully, click “Next.” The software will now complete the installation.
- After the installation, restart your computer to ensure all changes are effectively saved, and the printer is ready to use.
Suppose the installation CD is unavailable, or your computer doesn’t have a CD drive. You can download the necessary drivers and software from the Epson website with the following section.
Download and Install Epson Printer
Here are the steps for your Epson printer installation using the drivers and software from the official website:
- Navigate to the official Epson support page at www.epson.com/support (or the equivalent website for your region).
- Enter your printer’s model number or Model Name into the search box, then hit “Enter” on your keyboard or click the search icon.
- Click on your printer model in the search results to its specific support page.
- Click on the “Downloads” section.
- Using the dropdown, select your operating system.
- Below the drop-down menu, you’ll see a list of software and drivers available for your printer model. Look for the file titled “Drivers” or “Printer Driver.”
- Click the “Download” button which is next to the appropriate driver and save the file.
- Once the download is complete, then, locate the file on your system and double-click it to begin the installation process.
- Follow the on-screen instructions. You’ll be guided through choosing your language, accepting the terms and conditions, and selecting your connection type (USB or Wireless).
- If you selected “USB,” connect your printer to your computer when prompted. If you selected “Wireless,” you’ll need to connect your printer to your Wi-Fi network per the on-screen instructions.
- After the connection, the installer will install the drivers.
- Following successful installation, you may be prompted to print a test page to verify that everything is working correctly.
- Click “Finish” to complete the installation process, then restart your computer to ensure the changes take effect.
Note: Remember, the Epson printer installation steps may vary slightly based on your specific printer model and computer’s operating system. Always refer to the specific instructions provided during the installation process.
Need Further Assistance!
With the help of this guide, we provide you with a detailed guide for the Epson Printer Installation. From unboxing to installing the printer, you have each step. However, if you are confused with any step or facing any issues, we are here to help you with further assistance. Our Experts team will attend to you and resolve your query easily. Thank You!