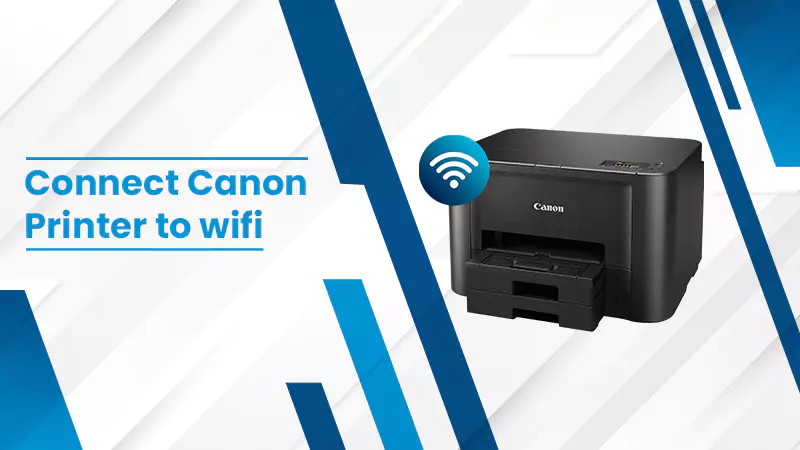
Connect Canon Printer to Wi-Fi and Print From Anywhere
- Mr. Ryan
- on Aug 02, 2023
Canon is a renowned brand that offers high-tech printing devices. Its wireless printers are particularly known for their stellar printing performance. When you connect a Canon printer to Wi-Fi, you can print from anywhere in your home or office. Moreover, you can use your wireless printer on various systems and mobile phones. There’s no need for cables, saving you from the hassle of reconnecting them repeatedly.
All that you need to establish a wireless printer connection is your computer, mobile, and a wireless router. In this post, we will go over a few methods to connect your Canon printer to Wi-Fi.
Contents
Connect Canon Printer to Wi-Fi Using the WPS Wi-Fi Protected Setup
You can use the WPS or the Wi-Fi Protected Setup to establish a secure wireless connection to your Canon printer. All that you require is a router compatible with WPS or a wireless access point.
Follow this procedure to set up the Canon printer to Wi-Fi. This process works best for Canon PIXMA TS8220 printers.
- Begin by clicking the signal button.
- After that, click the ‘Wi-Fi’ button.
- Now, tap ‘Settings.’
- Continue further by clicking the ‘Wi-Fi Setup.’
- After that, click ‘WPS (Push button method).’
- Now, tap ‘OK.’
- On your Wi-Fi router, hold and press the WPS button.
- Now, in two minutes, hit ‘OK’ on your printer.
- In case you see another window, tap ‘Troubleshooting.’
- When you see the window displaying ‘Connect to the wireless router,’ tap ‘OK.’
- But if you don’t see this screen, tap ‘Troubleshooting.’
- On the left portion of the screen, click the button in the shape of a home.’
- You will see a signal sign when the connection is successfully completed.
If you are a macOS user, follow these steps.
- Go to your application software.
- Tap the button in the shape of a circle with a blue arrow inside it. It is present in the ‘Dock.’
- Now, adhere to the pointers on your screen to continue with the wireless setup.
Connect Canon Printer to Wi-Fi Manually
You can also make your Canon printer connect to Wi-Fi through the manual connect method. This is called the standard setup. Use these steps to facilitate the wireless printer connection.
- Start by hitting the ‘Setup’ button.
- Now, use the two inverted triangle buttons to choose ‘Wi-Fi setup.’
- Next, hit the ‘OK’ button.
- After that, press the ‘Manual Connect’ option.
- Now hit ‘OK.’
- From the Select Router dropdown, choose your wireless router.
- Now tap the ‘OK’ button.
- Tap ‘OK’ again.
- Input the password. Remember that the password is case-sensitive, so input it accurately.
- If you’ve forgotten the router password or do not know it, see your wireless router manual.
- You can also connect with the manufacturer if the problem persists.
- If you see ‘Connected’ displaying on the screen, it implies that the network does not need a password.
- When you are ready, hold and press the ‘OK’ button. Do it for two seconds.
- Choose ‘Yes’ and hit the ‘OK’ button.
- When you see the ‘Connected’ screen appearing, hit the ‘OK’ button.
- But if your printer cannot link to your network, hit ‘OK’ and then tap the ‘Back’ button. Input the password again.
- Now tap the ‘Copy’ button.
- That’s it. You have successfully connected your Canon printer wirelessly.
Connect Canon Printer to Phone Wirelessly
You can link your mobile to your Canon printer wirelessly. Do this through the Canon Print app.
- Use the App Store/Google Play Store to download the Canon Print app.
- Install it on your respective phones.
- Check whether the Canon printer is plugged in and switched on.
- Check for a blue light on your printer. This is the Wi-Fi light, and it should flash quickly. Also, ‘Online’ must be lit.
- Now, open the Canon Print app.
- Touch ‘Add printer’ on the main screen.
- Hit the ‘Register printer’ option followed by the printer setup.
- Now, touch the option ‘Connection via the wireless router.’
- Select the wireless network name you will be using.
- Put in the password for the network.
- Now, press ‘OK.’
- The network settings will go to your Canon printer.
- When a prompt comes, press ‘OK.’
- Check whether your printer has been detected.
- Choose its name to connect your phone to it.
- Now, press ‘OK.’
- This will confirm the Canon printer’s connection to your phone wirelessly. You can now give a test print command.
Print wirelessly from your Canon printer after connecting it to your phone.
Now you know how to connect the printer to Wi-Fi using the Canon Print app on your phone. The next step is to learn how to print with wireless routers. This is done by first sending images from an Android phone to a Canon SELPHY printer. You will send images through Wi-Fi.
- Ensure that your phone is on Android 4.1 version or above. Likewise, iPhone users should have iOS 9.0 or higher.
- You can check it by heading toward the ‘Settings’ on your phone and then choosing ‘About phone.’
- Once you are sure that your device meets the requirements, download the SELPHY app from the Android App Store or the Play Store.
- Now, turn on the Wi-Fi on your smartphone.
- Now, hit the SELPHY icon on your smartphone.
- Start printing.
Also Read: Canon printer is offline Mac
Why Won’t My Canon Printer Connect to My Wi-Fi?
Canon printers cannot connect with Wi-Fi due to corrupted drivers or network problems. The problem can also occur because of a new modification in the wireless network. Here are some tips to fix it.
Update your printer driver.
You must update your printer driver to facilitate the wireless connection.
- Right-tap the Windows Start button.
- Choose ‘Device Manager.’
- Enlarge Print Queues.
- Right-tap on your printer driver and choose ‘Update driver.’
- Now choose the ‘Search automatically for drivers’ option.
- Enlarge the ‘Network Adapters’ tab.
- Right-tap on your wireless driver and choose ‘Update drivers.’
- Select the ‘Search automatically for drivers’ option.
- When the process ends, reboot your system.
Also Read: Canon printer in error state
Power cycle your printer.
Power cycling the printer can also help you restore the wireless connection. Power off your printer and take out its power cord. Now, take out your wireless router. Keep it unplugged for 15 seconds.
Turn on the router and link the cables in their appropriate slots. After turning on the router fully, plug the printer power cord back and turn on the device. Connect the Canon printer to Wi-Fi and try printing.
Ensure that the USB cable is linked properly.
Your USB cable must be linked firmly to both the printer and the computer. Check that the USB cable is inserted in the correct slot. You can navigate to it.manual.canon to learn more about using a USB cable connection.
Check that the printer network settings are the same as those of the access point.
If the network settings in your printer are dissimilar to that of the access point, the Canon printer won’t connect wirelessly. Review the instruction manual given in the access point to check the access point settings. Alternatively, contact the access point manufacturer for the correct configuration. After that, change the print settings.
Also, read: Canon Printer Is Not Responding
Final Thoughts
When you know how to connect a Canon printer to Wi-Fi, you don’t need to rely on cables to print anything. You can send your documents that require printing from anywhere and pick them up when the need arises. Moreover, connecting the printer to Wi-Fi is easy and requires just a few minutes. You can avail of a professional printer technician’s help if you feel confused anytime.